Recent Posts

Simple Veggie Sushi And Staying Home With The Kids

Orange Scented Challah French Toast

Easy Crepes For The Whole Family

Easy Pan-Fried Tofu Banh Mi Sandwich

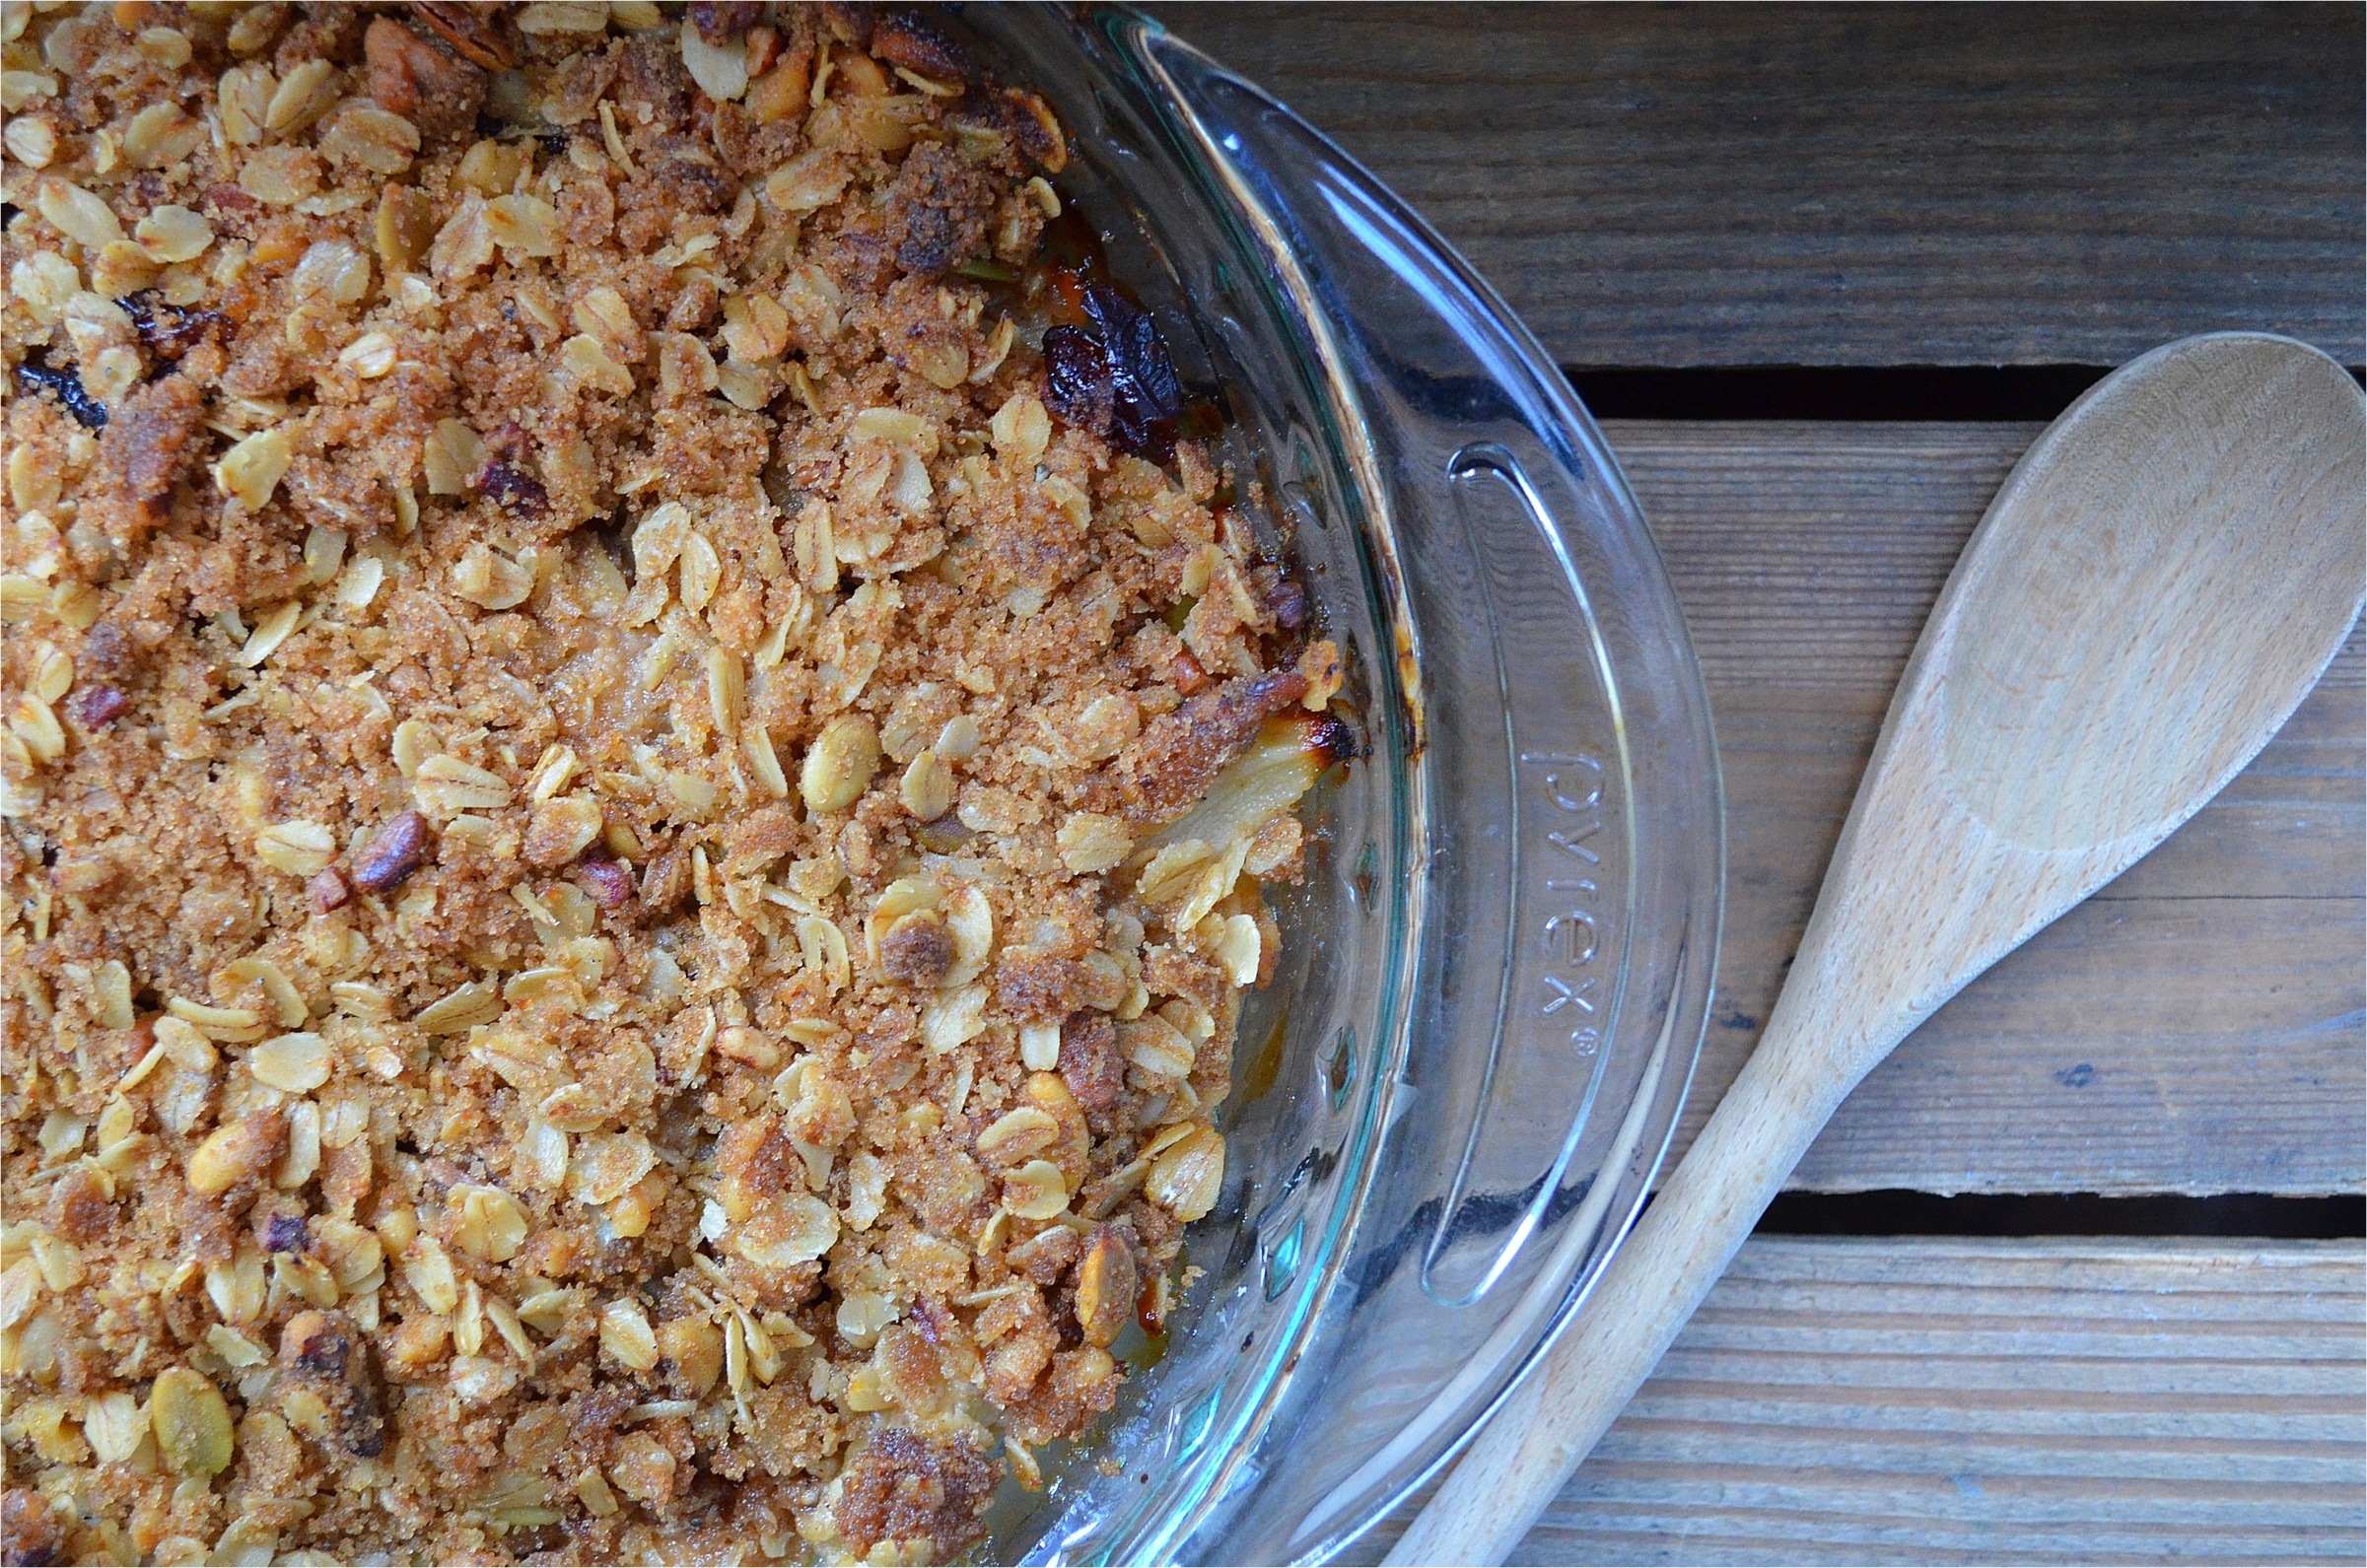
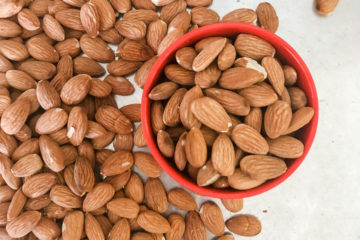
Maple Almond Granola and Cooking With Kids

Winter Citrus Salad With Avocado, Watercress and Shaved Fennel

Chilaquiles With Homemade Tortilla Chips